How to Convert Models to Fixed Point Using Multiple Simulation Scenarios
The Fixed-Point Tool in Simulink® can automatically explore compression choices to optimize your design based on high-level behavior constraints. The tool also uses multiple scenarios for simulation and verification. In this video, you will learn how the Fixed Point Tool can: combine full operating ranges from multiple simulations, capture many variations using Simulink Input Object, reduce setup complexity in the user interface, and verify the conversion results.
Published: 21 Jun 2020
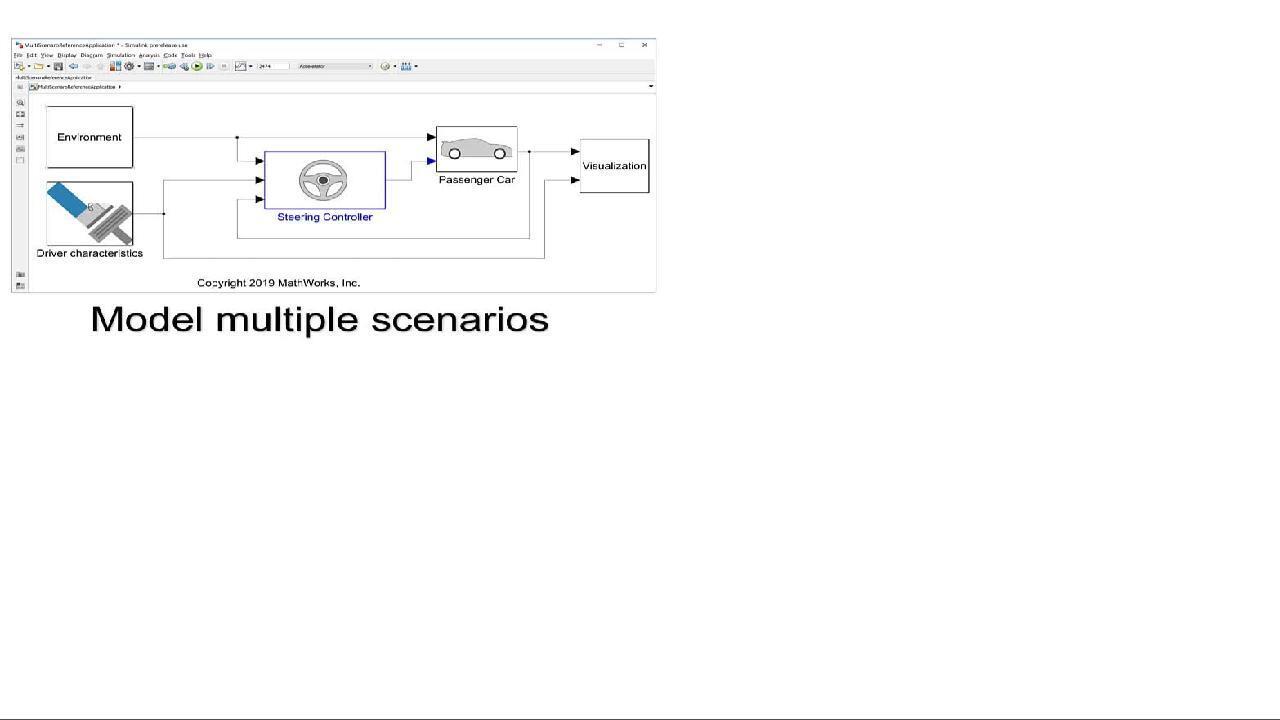
Hi. This is Brenda from MathWorks. In this video, I will show ways to model and simulate with multiple scenarios, collect useful statistics, and to convert a model into fixed price setting in a few simple steps. In the typical engineering design project, you'll find yourself running multiple simulations just to capture different driving conditions or different scenarios.
In a Simulink model, that means different kind of input or parameter settings. We've got questions like, how can a combining order simulation range information from all of this cases and find any issues?
So here we're using a live demo to cover two main concept. One is simulation input object. And the other is fixed point data type selection. We'll walk you through all the steps iteratively.
Let's start from an example. In this model, it contains a control subsystem that can later be used for code generation and deployment. The design spec input will vary. In this example, the magnitude value on the reference signal block may vary from 1 to 6. We set out to define the simulation input object.
The parameter of interest in this case is the source block I will specify empty simulation input object then use a full loop to populate the parameter information in this object. Now that we can execute the script and define this object in the base workspace, this object is ready to be used when each element captures the one simulation scenario. We have six.
Now we open up Fix Point Tool from the App Gallery. And in there you will be able to select a system under Design. And then also load the simulation input object for use, setting up the tolerance so you'll be able to specify whether the design goal is met at the end.
We'll use Prepare button to make the model ready for conversion. Then we can simulate the model and gain the instrumentation information for conversion. As you may guessed, there are six total simulation completed in this run. You can investigate each one of them and find their range information.
When you're ready, we can change the setting for us to propose new data types. This is based upon the combined simulation scenarios information. You can now take a closer look at them and find out if there is any potential under-flows due to the fixed point selection. Applying to data types will set the data type onto the model.
And now you're ready to simulate with the embedded types. Again, the same original input object will be used for conversion for running the simulation. And in this particular, case you will see three of them passing the tolerance requirement, and the other three did not.
We can then use Simulation Inspector to confirm the overall behavior by looking at the simulation results for any scenarios. This explains when it meets the requirement and when it's not.
Now you can also go back to iterate on different type of proposals or be able to compare different results. The model now is converted to a fixed point with the settings. We covered a simulation input object and fixed point too in this video. Thank you for watching.

Featured Product
Fixed-Point Designer
Up Next:


Related Videos:


Select a Web Site
Choose a web site to get translated content where available and see local events and offers. Based on your location, we recommend that you select: United States.
You can also select a web site from the following list
Americas
- América Latina (Español)
- Canada (English)
- United States (English)
Europe
- Belgium (English)
- Denmark (English)
- Deutschland (Deutsch)
- España (Español)
- Finland (English)
- France (Français)
- Ireland (English)
- Italia (Italiano)
- Luxembourg (English)
- Netherlands (English)
- Norway (English)
- Österreich (Deutsch)
- Portugal (English)
- Sweden (English)
- Switzerland
- United Kingdom (English)