Using External Mode in Simulink Real-Time
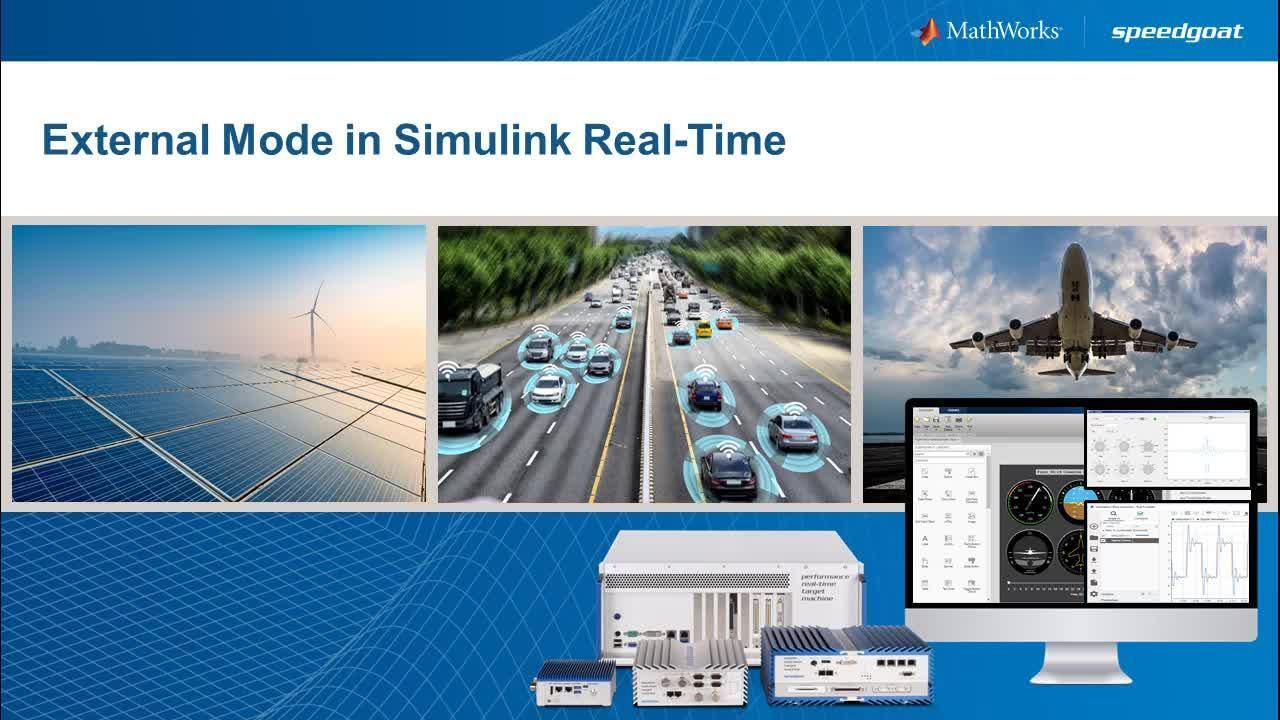
An external mode simulation establishes a communication channel between Simulink® on your development computer (host) and the target hardware that runs the real-time application. Learn how to create real-time applications in Simulink, deploy them to Speedgoat target computers, and interact with the applications directly from Simulink. An example model and demonstration are shown.
Published: 3 Sep 2020
In R2020b there is a major update for Simulink Real-Time. As part of the major update, there are several new features you can learn more about in the videos linked below. In this video, I'll be covering how to create real-time applications from Simulink, deploy them to speedgoat targets, and interact with them directly from Simulink.
We'll begin with an example model that's already set up for desktop simulation. To configure the model for real time execution, select Simulink Real-Time from the apps tab. You'll notice that the system target file has been changed to slrealtime.tlc and a new tab is available in the tool strip.
In the Real-Time tab, you can select which target you want this model to run on. If you don't have a target setup, you can always do that with the Simulink Real-Time Explorer. If you want to learn more about what else the Explorer can do, check out the video on the new Simulink Real-Time Explorer.
In this example, we already have the target setup and connected. So we only need to click on Run on Target to generate code, compile and download the model to the speedgoat at target. It will automatically start execution of the model as well.
Now that the model is executing on the target, we can interact with the model directly from the Simulink canvas. We can tune parameters by clicking on their blocks and editing them at run-time. If you're finding that the parameters you're trying to tune are at various levels in your model, you can, of course, use the Simulink dashboard blocks to connect parameters in your model to graphical components.
Now, before starting the simulation, I selected a few signals to be logged. These can be viewed from the Simulation Data Inspector. At the end of execution, you can export that data to the MATLAB workspace for any post-processing. In this video, we covered how to create real time applications from Simulink, deploy them to speedgoat targets, and then, interact with them from the Simulink canvas. To learn more about the new Real-Time Explorer or file logging capabilities, check out the links below.
Featured Product
Simulink Real-Time
Up Next:

Related Videos:


Select a Web Site
Choose a web site to get translated content where available and see local events and offers. Based on your location, we recommend that you select: United States.
You can also select a web site from the following list
Americas
- América Latina (Español)
- Canada (English)
- United States (English)
Europe
- Belgium (English)
- Denmark (English)
- Deutschland (Deutsch)
- España (Español)
- Finland (English)
- France (Français)
- Ireland (English)
- Italia (Italiano)
- Luxembourg (English)
- Netherlands (English)
- Norway (English)
- Österreich (Deutsch)
- Portugal (English)
- Sweden (English)
- Switzerland
- United Kingdom (English)