Merging Signals
This example shows how to use conditionally executed subsystems and the Merge block to combine two inputs into a single output. The Merge block output value at any time is equal to the most recently computed output of its driving blocks.
Use Merge blocks to interleave input signals that update at different times into a combined signal in which the interleaved values retain their separate identities and times. To combine signals that update at the same time into an array or matrix signal, use a Vector Concatenate block.

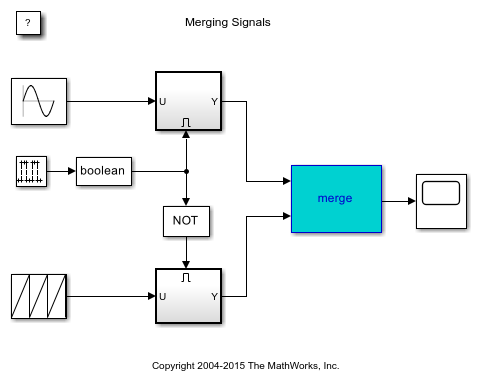
The left side of the model contains two blocks Repeating Sequence blocks from the Simulink Sources library. Each block generates a scalar output signal of the form displayed on the block icon.
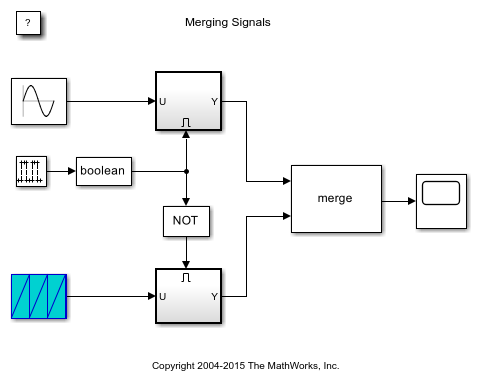
These two signals are input into different Enabled Subsystem blocks, which are outlined with thick lines.

A signal generated by the Pulse Generator block controls the enabled (or conditionally executed) subsystems.
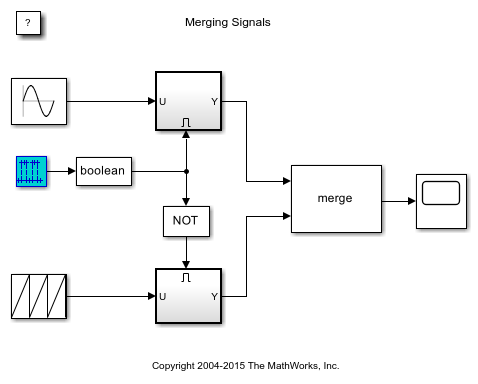
This block output toggles between the values of zero and one every five seconds. When the output of the Discrete Pulse Generator block is positive, the top enabled subsystem is simulating. When the output of the Discrete Pulse Generator block is zero, the bottom enabled subsystem is simulating.
To force the bottom enabled subsystem to simulate when the Discrete Pulse Generator block output is zero, the output is passed through a Logical Operator block set to the NOT operator. The NOT block outputs a value of one when its input is zero.
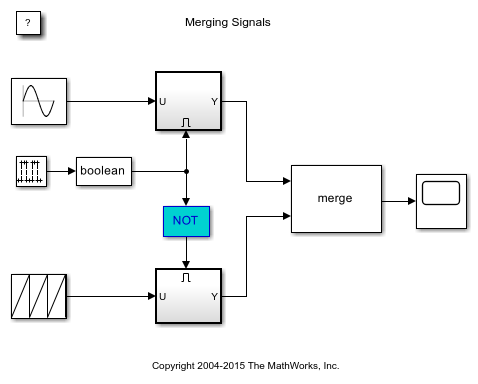
The outputs of the two enabled subsystems are input into a Merge block.

A Scope block displays the Merge block output.
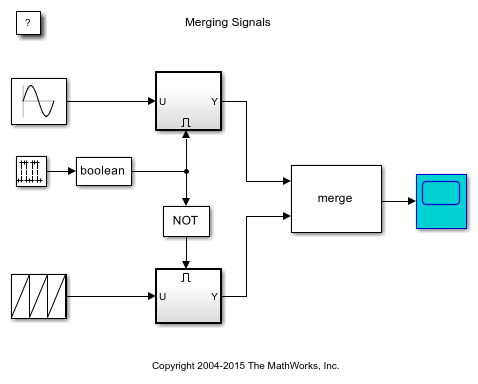
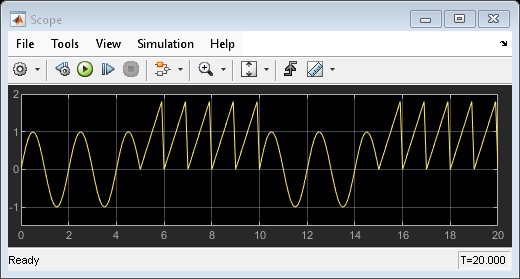
Run the simulation to see the output of the Merge block on the Scope. Notice that the type of waveform shown on the Scope changes every five seconds. Due to the behavior of the Merge block, the type of waveform shown on the Scope changes every five seconds.

Conditionally Executed Subsystems
This Merge block example contains two conditionally executed subsystems.
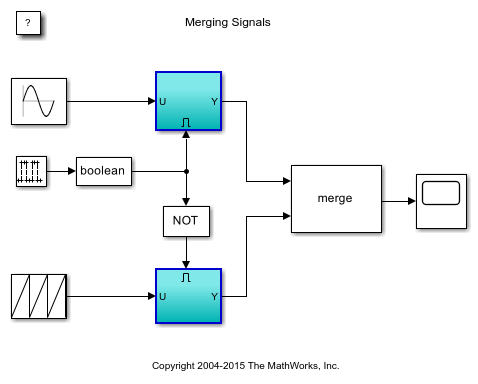
A conditionally executed subsystem is a subsystem that is only executed at times during the simulation when certain conditions are met. In this case, the subsystems are enabled subsystems, distinguished by their icons and the additional input port on the top or bottom of the block.
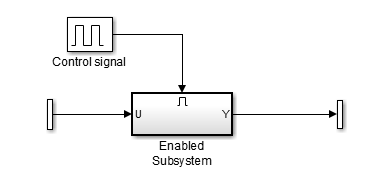
The signal feeding into the additional port is called the control signal. The value of this signal provides the condition that determines whether the subsystem is executed or not, at any given time step. Enabled subsystems are executed when the control signal is strictly positive.
In this example, you want to execute one of the enabled subsystems when the control signal is positive, and the other when the control signal is zero. You can do this by using the Logical Operator block.
Logical Operator Block
The Logical Operator block provides a method for incorporating logical operators and boolean signals into your model.
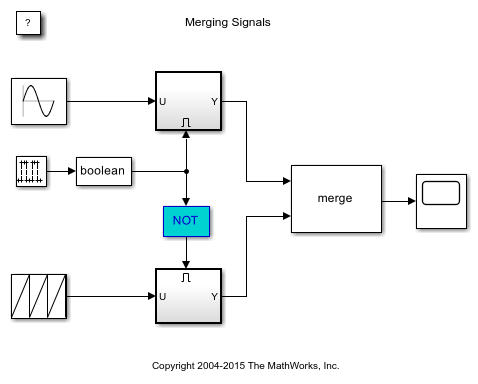
Open the Logical Operator block to see the different types of operators. The current setting of NOT returns 1 (or TRUE) when the input signal is non-zero, or 0 (FALSE) when the input signal is strictly zero.
In this example, use this feature to generate a positive value when the control signal goes to zero by maintaining the current operator setting of NOT and closing the dialog.
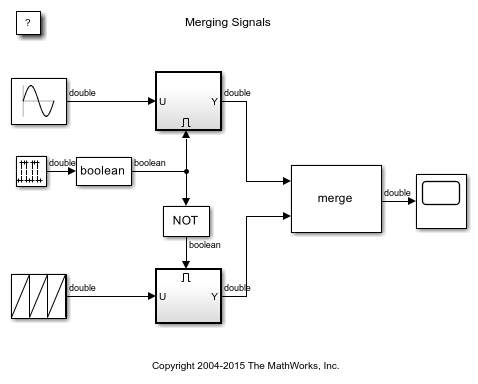
Note: In the Simulink Editor, on the Debug tab, the Information Overlays menu offers options for displaying signal and port properties on the block diagram.
Boolean Signals
You can have Simulink use boolean or double values for the inputs and outputs of the Logical Operator block, using the following steps.
1. To open the Configuration Parameters dialog box, in the Simulink Editor, on the Modeling tab, select Model Settings.
2. Go to the Optimization page in the Configuration Parameters dialog.
3. Verify that the Implement logic signals as boolean data (vs. double) parameter is enabled. This optimization tells Simulink whether or not it should allow a signal whose data type is double to be passed into and out of blocks that support the boolean data type.
4. Click the OK button on the Configuration Parameters dialog.
Placing the Data Type Conversion block after the Discrete Pulse Generator block avoids an error indicating that the Logical Operator block expects a boolean input signal.

Merge Block and Alternately Enabling Subsystems
Use the Merge block to create a single signal that is equal to the output of whichever enabled subsystem is currently executing.
1. Open the Merge block dialog box by double-clicking the block.
2. Specify the Number of inputs as the number of enabled subsystems whose outputs you want to merge. In this case you want to set the *Number of inputs *to 2.
3. Leave the Initial output field empty to specify that the Merge block sets its initial output to the initial value of one of its input signals. In this case, the output will be the initial value of the subsystem that is enabled when the simulation starts.
4. Close the Merge block dialog box.
5. Connect the output of the two conditionally executed subsystems to the inputs of the Merge block.
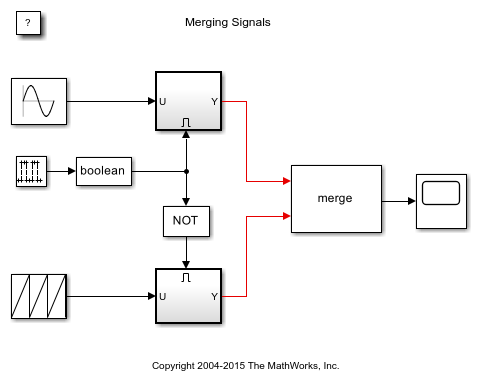
As before, when you run the simulation, the output of the Merge block is the value of whatever conditionally executed subsystem is executing at any point in time.
Programmatically Change Block Background Color
When you run the simulation, the color of the currently executing conditionally executing subsystems change. This does not happen automatically for all conditionally executing subsystems. This example uses an S-function and MATLAB® code to change the block background color.
To see the code, double-click the one of the enabled subsystems to open it.
1. The Enable block makes this a conditionally executed subsystem and adds the input port for the control signal.
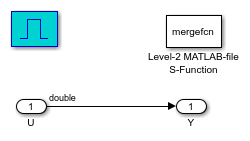

2. The Level-2 MATLAB-file S-function block runs the MATLAB file S-function mergefcn.m.

At each time step, the S-function mdlUpdate subfunction executes. It sets the BackgroundColor property of the subsystems based on whether it is currently executing, or not, with the following command.
See Also
Merge | Level-2 MATLAB S-Function