Define and Update Inport Data by Using Root Inport Mapper
You can create root-level input ports and use the Root Inport Mapper to define input data. You can update the input data without rebuilding the model by using the MATLAB® language.
Required Files
This procedure has these file dependencies:
slrt_ex_osc_inport— Damped oscillator that takes its input data from input portIn1and sends its multiplexed output to output portOut1. To open this model, in the MATLAB Command Window, type:openExample('slrealtime/SlrtStimulateRootInportByUsingMATLABLanguageExample'); open_system('slrt_ex_osc_inport');
slrt_ex_inport_square.mat— One second of output from a Signal Generator block that is configured to output a square wave. To load this data, in the MATLAB Command Window, type:load('slrt_ex_inport_square.mat');slrt_ex_inport_sawtooth.mat— One second of output from a Signal Generator block that is configured to output a sawtooth wave. To load this data, in the MATLAB Command Window, type:load('slrt_ex_inport_sawtooth.mat');
Before starting this procedure, navigate to a working folder.
Map Inport to Use Square Wave
This procedure uses the Root Inport Mapper.
Open model
slrt_ex_osc_inportand save a copy to a working folder.Load
slrt_ex_inport_square.matand assignsquareto a temporary workspace variable for use with the Root Inport Mapper.waveform = square;
Double-click input port
In1.Clear Interpolate data, and then click Connect Inputs.
This example chooses not to interpolate the data because the time steps in the dataset are identical to the sample time in the model. If the model were to be run with a different sample time, consider whether to enable interpolation.
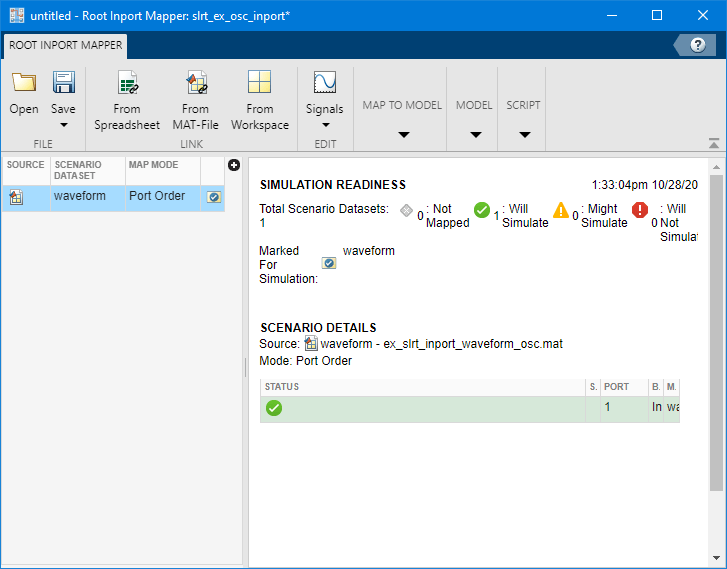
In the Root Inport Mapper, click From Workspace and select variable
waveform. Clear the other variables.In the Save to text box, enter a name such as
ex_slrt_inport_waveform_osc.mat, and then click OK.Select the map to model option Port order and, from the Options menu, select Update Model.
Click Map to Model.
To update the model with the mapped input data, select scenario
waveform, and then click Mark for Simulation.
Click Save.
Save the scenario under a name such as
slrt_ex_inport_waveform_scenario.mldatx.Close the Root Inport Mapper. In the
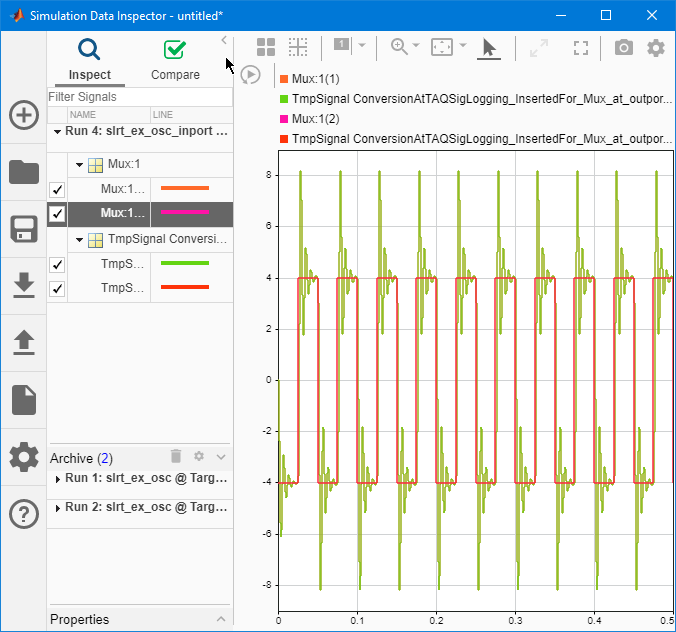
In1block parameters dialog box, click OK.To display the output of the Mux block with the Simulation Data Inspector, right-click the output signal and select Log Selected Signals.
You can now save, build, download, and execute the real-time application. Display the output by using the Simulation Data Inspector.

Update Inport to Use Sawtooth Wave
You can update the inport data to use a different data file without
rebuilding the real-time
application. The
slrt_ex_osc_inport.mldatx file must be in the working
folder.
Load
slrt_ex_inport_sawtooth.mat, and then assignsawtoothto the temporary variable that you used with the Root Inport Mapper.load('slrt_ex_inport_sawtooth.mat'); waveform = sawtooth;Create an application object.
app_object = slrealtime.Application('slrt_ex_osc_inport');Update the application object.
updateRootLevelInportData(app_object);
Load the updated object to the target computer and execute it.
tg = slrealtime;
load(tg, 'slrt_ex_osc_inport');
start(tg);
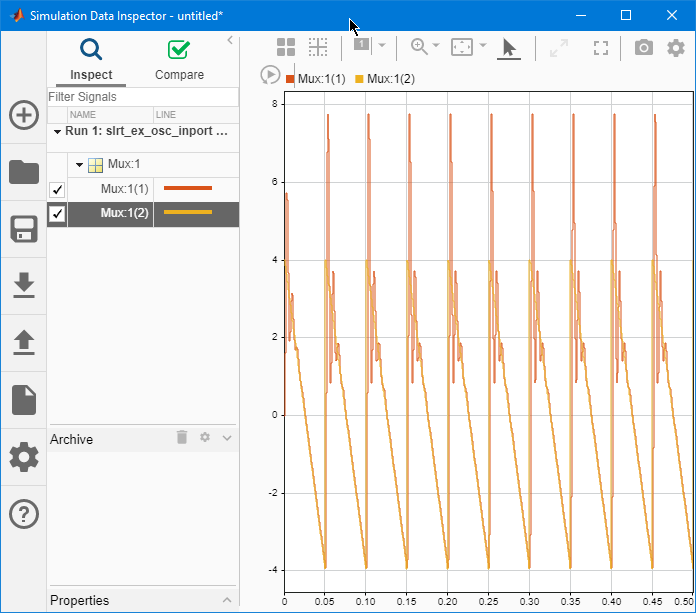
Display the output by using the Simulation Data Inspector.
